I started dabbling with maria-db for a project at work which has inspired me to create this article; this will be a series of quick and to-the-point documents regarding the usage of maria-db as an MS-SQL database solution.
First, you can download maria-db for free at https://downloads.mariadb.org/; I have 10.2.7 x64 which is about 455MB in size and I used the zipped version, but you can use whichever installer you’d like.
If you download the zipped installer, simply unzip it somewhere and then follow the below steps via command prompt. For the first command, replace the path with the path to where you extracted the zipped files to.
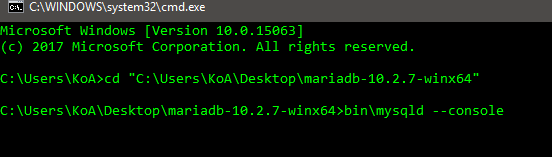
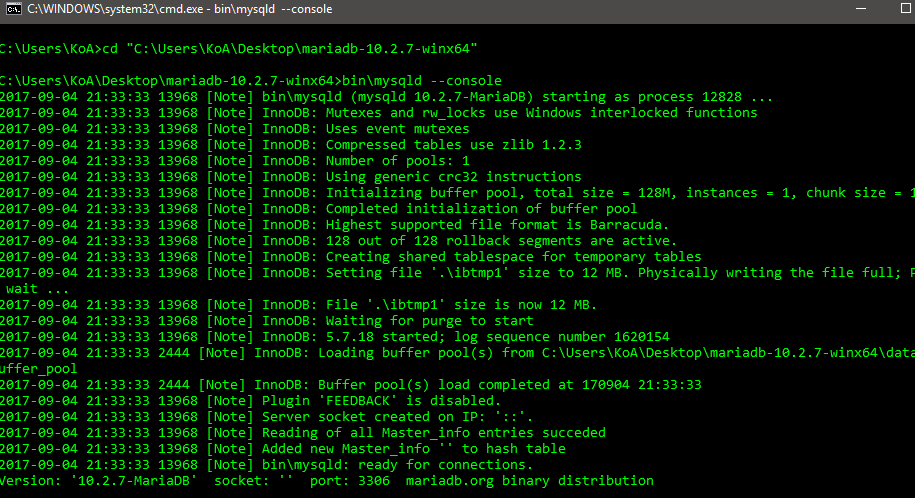
The second command will start up the database in this current prompt. You should get similar output as the screen shot, this means that the database has started locally. You have to keep this command prompt window open in order to access the database via a separate command prompt window.
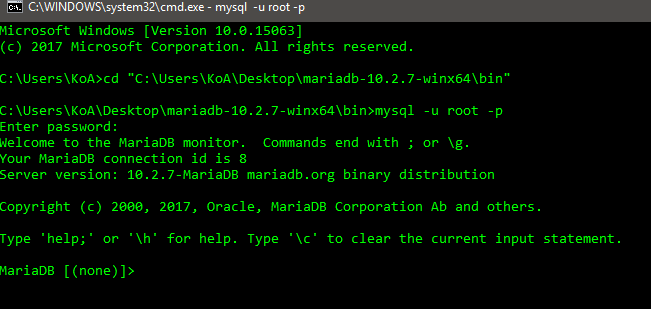
Lastly, open a separate command prompt window, navigate to the same directory as before but this time move into the bin folder and run the below command to start an interactive database connection as root user (admin account).
When prompted for the password, just press ENTER; the password by default is blank.
Now that you are connected to the database via this second command prompt, you can try out the below commands. Remember, all SQL commands here have to end with a semi-colon (;).
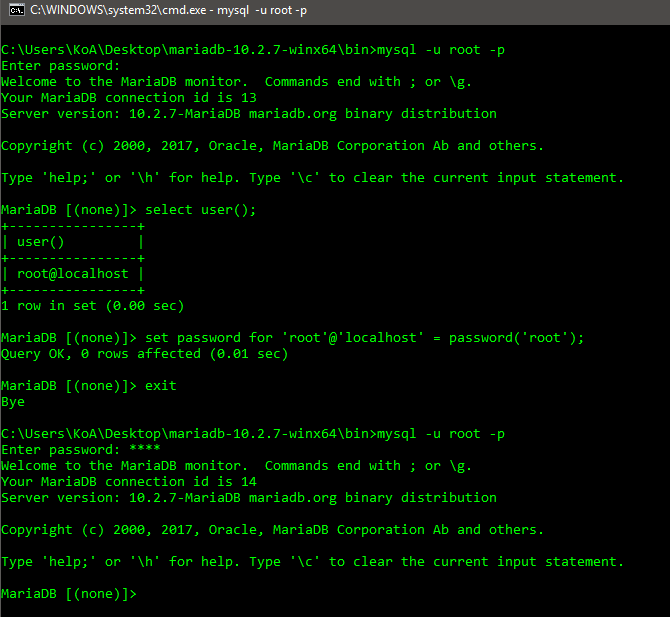
This will show the current user logged into the database.
select user();
The next command allows you to change your password for a user; here I changed the password for username root from blank to root.
set password for 'username'@'databasename' = password('new password');
I exited the database connection by typing exit and then logged back in as root and this time I had to enter my password to log in.
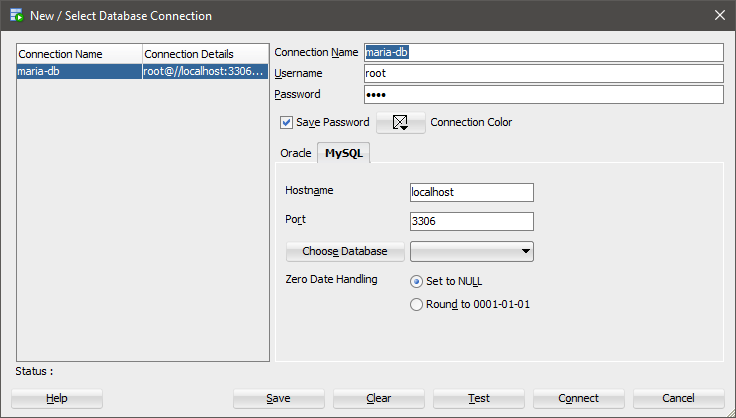
You can also use Oracle SQL Developer to connect to the database rather than a command prompt window.
1. First download Oracle SQL Developer with JDK – http://www.oracle.com/technetwork/developer-tools/sql-developer/downloads/index.html
2. Then, download MySQL Connector plug-in – https://dev.mysql.com/downloads/file/?id=472651
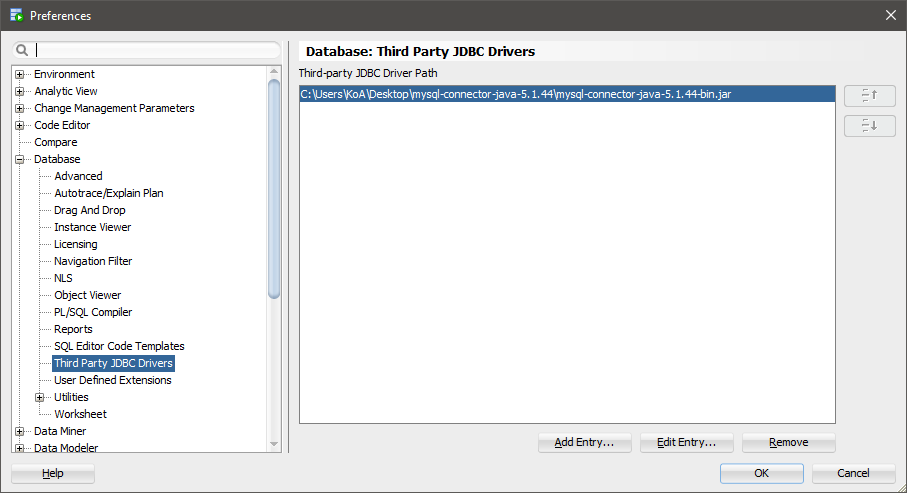
3. Launch SQL Developer and go to Tools > Preferences > Database > Third Party JDBC Drivers > Add Entry > Navigate to the plug in you downloaded and choose the .jar file:
4. Create a new connection and click on the MySQL tab.